Rachel’s matchbox template
Altered matchboxes are easy and fun to make!
To view a step-by-step tutorial with photos for making these paper boxes, check out the Matchbox Valentines How Tuesday post on the Etsy Storque blog.
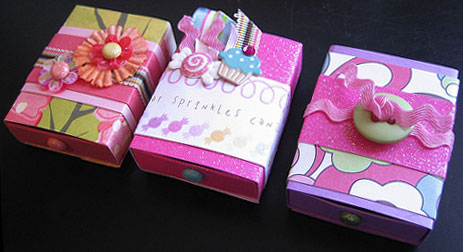
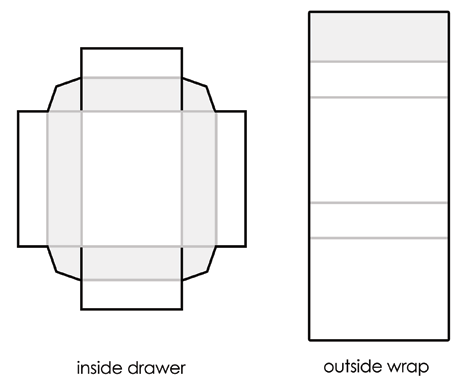
These little boxes are approximately the size of standard, store-bought, 32-count matchboxes (1.5″ x 2″ x .5″). They make lovely mini gift boxes, and are also fun to swap! Here you can download the PDF template I created and use for creating these matchboxes from scratch using heavy card stock. (Make sure to download the full-size document using the link below. Do not use the below .gif image.) You can also print the template onto any type of paper and then trace it onto light cardboard, such as cereal box cardboard, to make more sturdy boxes.
Download Rachel’s matchbox template.
Instructions:
- Print out template on card stock at 100%. Do not “fit to paper size” in your printer settings or your matchbox will not be the correct size.
- Cut along all black lines; score and fold along all grey lines.
- Apply glue to the light grey areas of the inside drawer.
- Fold the sides of the inside drawer in on themselves (they will be end up being double thick) while tucking the tabs into the folds of the shorter sides of the drawer.
- Fold the outside wrap around the inside drawer and glue it in place.
- Decorate your matchbox!
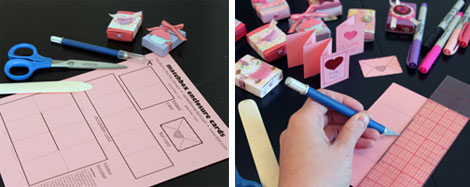
Optional: Want to include a little card or mini zine in your matchbox? Download the matchbox enclosures template here!
Want even more matchbox fun?!
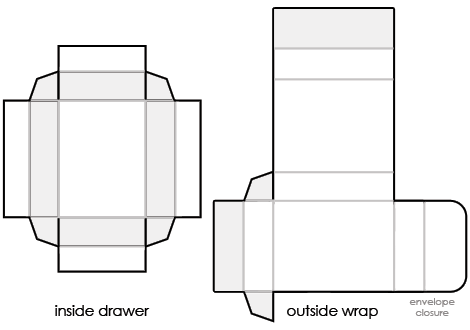
Here is a newer Envelope-style matchbox template:
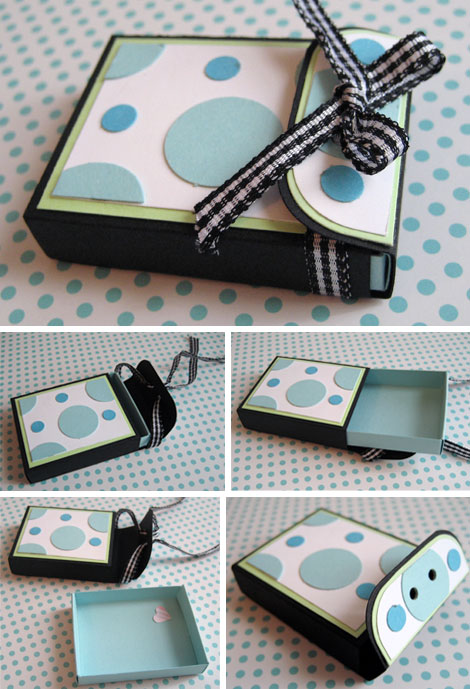
The inner drawer of this matchbox is exactly the same as my original Matchbox Template above, but the outer wrap differs significantly. The final matchbox constructed with this template will be about the same size as a standard, store-bought, 32-count matchbox – approximately 1.5 x 2 x .5 inches.
Download the Envelope-style Matchbox Template PDF here.
Here are the basic instructions which are also printed on the template:
- Print out template on card stock at 100%. Do not “fit to paper size” or your matchbox will not be the correct size.
- Cut along all black lines; score and fold along all grey lines.
- Apply glue to the light grey areas of the inside drawer.
- Fold the sides of the inside drawer in on themselves (they will be end up being double thick) while tucking the tabs into the folds of the shorter sides of the drawer.
- Fold the outside wrap around the inside drawer while folding in its bottom and tucking in the tabs. (I suggest test folding the outer wrap around the inner drawer at first, then removing the inside drawer and doing the final fold with glue. This fold is a little tricky as you must tuck in the tabs and the final side.) Glue it in place.
- The flap on the right side of the outside wrap template is the matchbox’s envelope closure. Fold it over the top of the box and secure it with a seal or ribbon.
- Decorate your matchbox!
Writing the instructions is the most difficult part of making these templates. I know they are confusing, but try printing the template on regular paper and practicing a few times before tackling the real deal in card stock. Let me know if you have any questions.
Also…
Here is a template for a larger, 250-count matchbox from user, HelenJoy.

